
What Is Injection Molding Plastic? Core Principles and Process Flow
The injection molding process for plastics works by injecting hot melted polymer into specially designed molds to produce identical parts in large quantities. This method rules the world of mass production because it can consistently reproduce items with exact dimensions and handle pretty complicated shapes too, sometimes getting down to tolerances as tight as plus or minus 0.005 inches. What makes this whole thing work are basically three main factors: how the materials behave when heated, applying just the right amount of pressure during injection, and making sure everything cools down quickly and evenly across the part. For smaller components especially, these processes often let manufacturers complete each cycle in under half a minute.
The standardized workflow follows four critical phases:
- Material preparation: Plastic pellets are dried and fed into a heated barrel, melting into a viscous liquid at 200–300°C
- Injection phase: A screw mechanism injects the molten plastic into mold cavities under 1,000–20,000 psi pressure
- Cooling and solidification: The mold—held at 40–120°C—chills the material, triggering crystallization or vitrification
- Ejection: Automated systems release the solidified part before the cycle repeats
This closed-loop process minimizes waste, with over 95% of scrap material recyclable back into production. Its precision and scalability make injection molding indispensable across automotive, medical, and consumer goods sectors where volume, consistency, and functional integrity converge.
Key Plastic Materials Used in Injection Molding
Material selection directly determines part performance, cost efficiency, and manufacturability. Understanding material categories ensures optimal alignment with functional requirements.
Thermoplastics: ABS, Polypropylene, and Polycarbonate
Around 85 percent of all injection molding work involves thermoplastics because they can be recycled, processed easily, and have pretty good mechanical characteristics overall. Take ABS plastic for instance Acrylonitrile Butadiene Styrene to give it its full name this material stands out for resisting impacts, which is why car manufacturers use it so much for trim parts and electronic device casings. Then there's polypropylene that handles chemicals really well and doesn't wear out quickly even after repeated bending motions. No wonder hospitals rely on it for things like IV bags and those flexible hinges we see on some packaging materials. And let's not forget polycarbonate. This stuff is basically transparent glass but stronger, can withstand temperatures as high as 135 degrees Celsius, and just won't crack under normal stress conditions. Because of these qualities, it has become the go to material for light fixtures and protective covers where safety matters most.
Engineering and High-Performance Plastics
For demanding environments—such as aerospace, implantable devices, or high-temperature industrial systems—engineering-grade polymers like PEEK, PSU, and PEI replace metals without sacrificing reliability. These materials offer:
- Continuous use temperatures exceeding 250°C
- Inherent flame retardancy (UL94 V-0 rated without additives)
- Compatibility with autoclave, gamma, and EtO sterilization methods
Nylon variants (e.g., PA66-GF30) enhance wear and creep resistance in powertrain gears, while liquid crystal polymers (LCP) support micro-scale precision in high-frequency connectors and miniaturized medical instruments. Though premium-priced, they reduce total cost of ownership through extended service life, simplified assembly, and elimination of secondary metal operations.
Critical Design Considerations for Injection Molding Plastic Parts
Wall Thickness, Draft Angles, and Gate Placement
Keeping walls at a consistent thickness between 1.5 and 3.0 mm helps avoid problems like warping, sink marks, and uneven shrinkage because it allows for better cooling throughout the part. When there are variations exceeding 10% from one section to another, defects become much more likely during production runs. The draft angle needs to be somewhere around 1 to 3 degrees for parts to come out reliably without damaging the mold or causing premature wear on tools. If the draft is less than 1 degree though, manufacturers often see cycle times jump by about 15% plus get those annoying surface scratches according to recent research published last year. For gates, placing them near thicker areas reduces issues with trapped air and excessive heat buildup. Instead of making walls thicker everywhere, adding ribs strategically gives the needed strength without adding unnecessary weight or disrupting how heat distributes through the material during processing.
| Design Factor | Impact | Optimal Range |
|---|---|---|
| Wall Thickness | Cooling uniformity, shrink control | 1.5–3.0 mm |
| Draft Angle | Ejection reliability, mold longevity | 1°–3° |
| Gate Location | Flow front stability, weld line positioning | Near thick sections or symmetry planes |
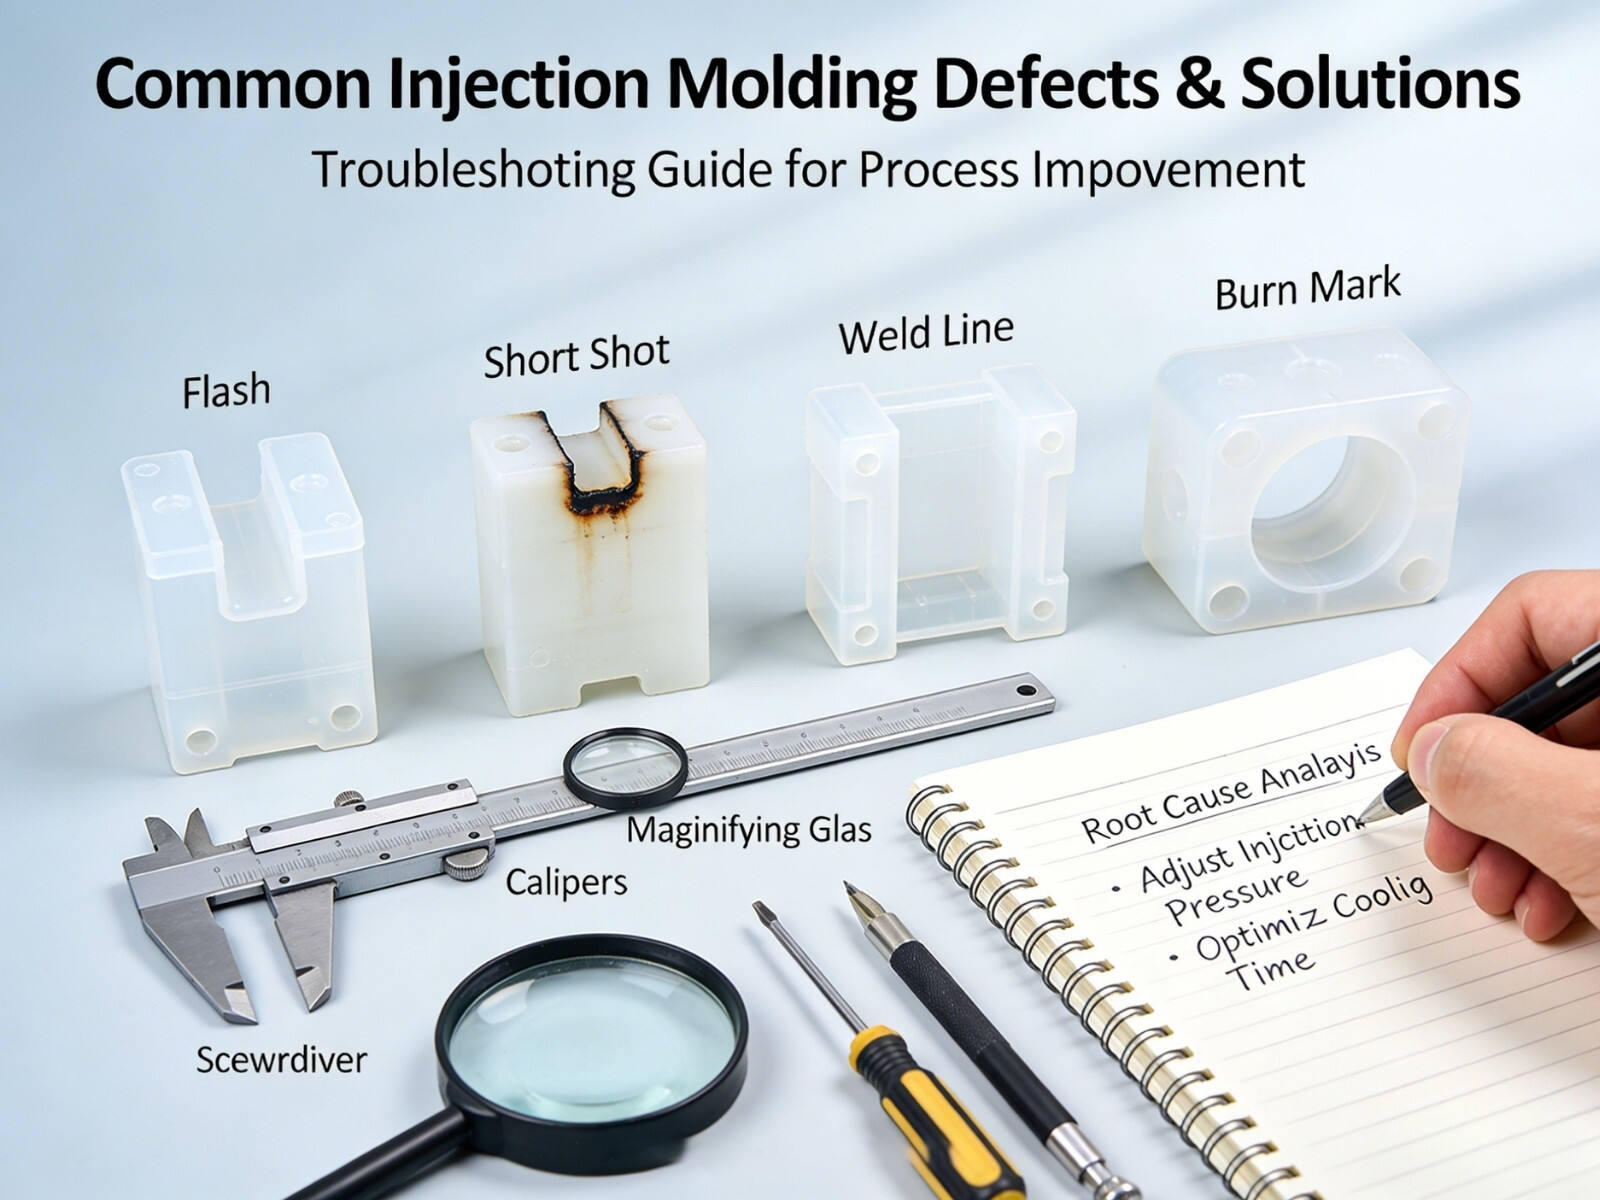
Avoiding Common Defects: Warping, Sink Marks, and Flash
Warping happens mainly because parts cool unevenly or there's too much residual stress building up somewhere. To fix this problem, designers need to create symmetrical parts, keep the mold temperature consistent across all surfaces, and sometimes incorporate fiber-reinforced resins strategically. When it comes to sink marks, they typically appear where certain sections are thicker and take longer to cool down compared to thinner areas around them. The usual fixes involve removing excess material through coring, getting those rib-to-wall ratios right (ideally below 0.6), and making sure wall thickness stays pretty much the same throughout the part. Flash is another common issue that shows up along mold parting lines or near vent gaps. This tends to happen when injection pressure gets too high, clamp force isn't sufficient, or tools just get worn out over time. Factories with poor maintenance practices often see between 8% to 12% scrap rates from flash alone in their high volume production runs. Fortunately, regular mold maintenance combined with real time monitoring systems and properly validated pressure settings can stop most of these problems before they start, all while keeping production speeds intact.
Cost, Lead Time, and Scalability of Injection Molding Plastic Production
The economics of injection molding plastics can be really attractive once production scales up, though manufacturers need to weigh what they spend initially against what they save over time. Basic mold tools usually run between about $1,000 to $5,000. But things get expensive fast for more complicated molds with multiple cavities or made from hardened steel these can easily top $100k because they require all sorts of specialized machining work, surface treatments, and those fancy cooling channels that help maintain consistent quality. For small batches under 1,000 pieces, each item ends up costing quite a bit. However, when companies ramp up production to around 10,000 units and beyond, the price per piece plummets significantly. Some industry research indicates prices can fall anywhere from 60% to 70% as volume increases to over 100,000 units. This happens mainly because the initial tooling costs and ongoing labor expenses spread out across many more products.
Lead time breaks into two distinct phases:
- Tooling development: 30–45 days for mold fabrication, fit-check, and first-article validation
- Production ramp-up: 1–3 weeks for process optimization, sampling, and PPAP/quality sign-off
Alternatives such as 3D printing work great for prototypes, but when it comes to making large quantities, nothing beats injection molding. This method delivers consistently good quality while keeping each unit under a dollar for big batches. What really makes injection molding stand out is how scalable it gets. After testing shows everything works right, one mold can churn out millions of exactly the same parts. The extra costs only come from buying more materials and using additional energy, which stays pretty low compared to other methods. That's why so many manufacturers turn to injection molding whenever they need to produce massive amounts of plastic components without breaking the bank.
| Production Scale | Mold Cost Impact | Per-Unit Cost | Ideal Use Case |
|---|---|---|---|
| < 1,000 units | High | $5–$50+ | Prototyping/Niche items |
| 10k–100k units | Moderate | $1–$5 | Mid-volume production |
| 100k+ units | Low | <$1 | Mass manufacturing |
FAQ
What are the main stages of plastic injection molding?
The process involves four main stages: material preparation, injection phase, cooling and solidification, and ejection.
What materials are commonly used in injection molding?
ABS, Polypropylene, and Polycarbonate are common thermoplastics. Engineering-grade polymers such as PEEK, PSU, and PEI are used for high-performance applications.
How do design considerations affect injection molding?
Design considerations like wall thickness, draft angles, and gate placement impact cooling uniformity, ejection reliability, and flow stability, which are critical for avoiding defects.
What factors influence the cost of injection molding?
Costs are affected by mold complexity, production scale, and initial tooling investment. Higher production volumes generally result in lower per-unit costs.